Connect Botize to Claude and build automations just by chatting
You only connect it once. After that, ask Claude to install any template and it walks you through it — no tech skills needed.
Part 1 · Just once
Connect Botize to Claude
The up-to-date guide, with every screen and troubleshooting, lives in the Help Center: Connect Botize to Claude.
-
1
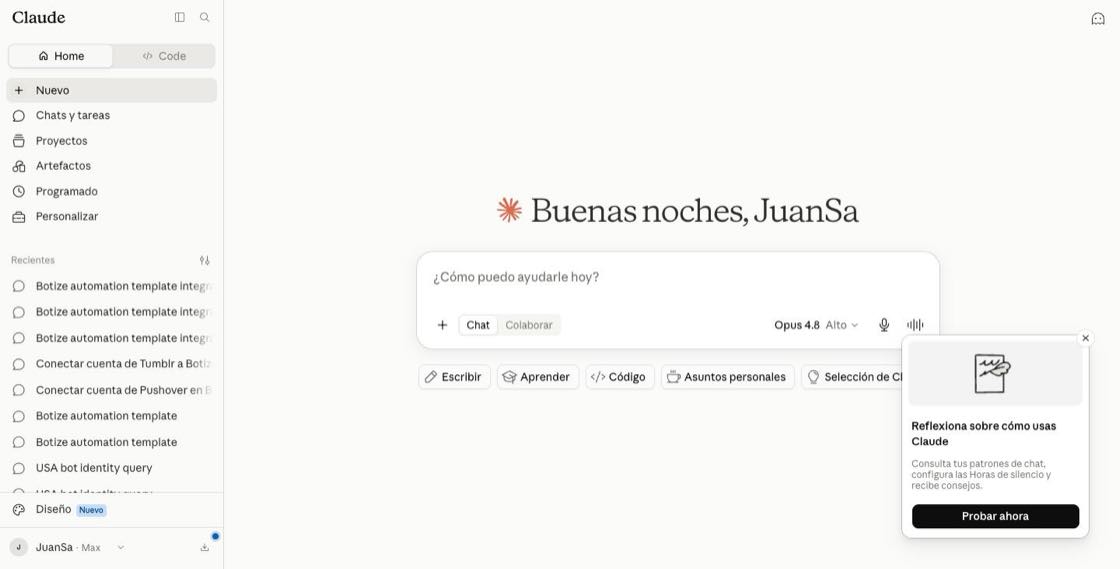
Open Claude
Open claude.ai and sign in. You'll see the home screen with the chat box.
-
2
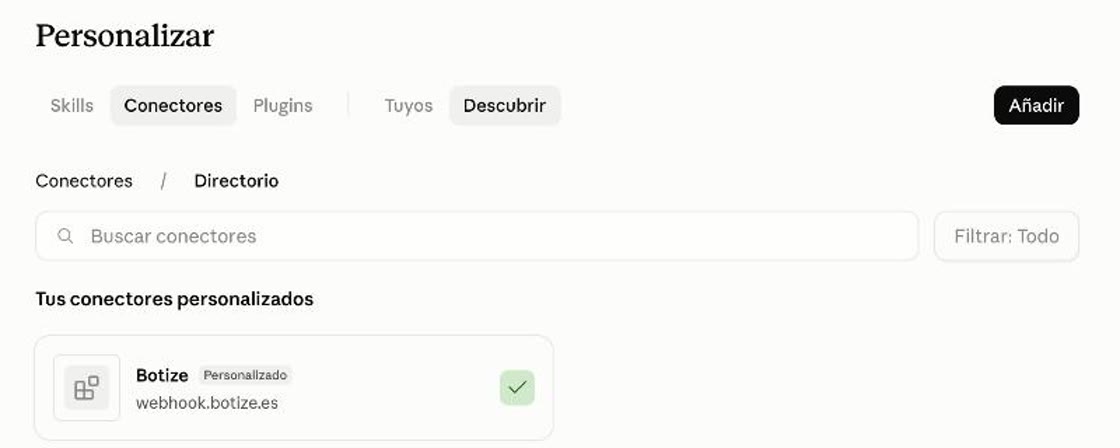
Open connectors
In the sidebar open Customize and go to the Connectors tab. This is where you manage the apps Claude can use.
Looking for them under Settings? Claude moved them: it now points you here. Direct shortcut: claude.ai/customize/connectors.
-
3
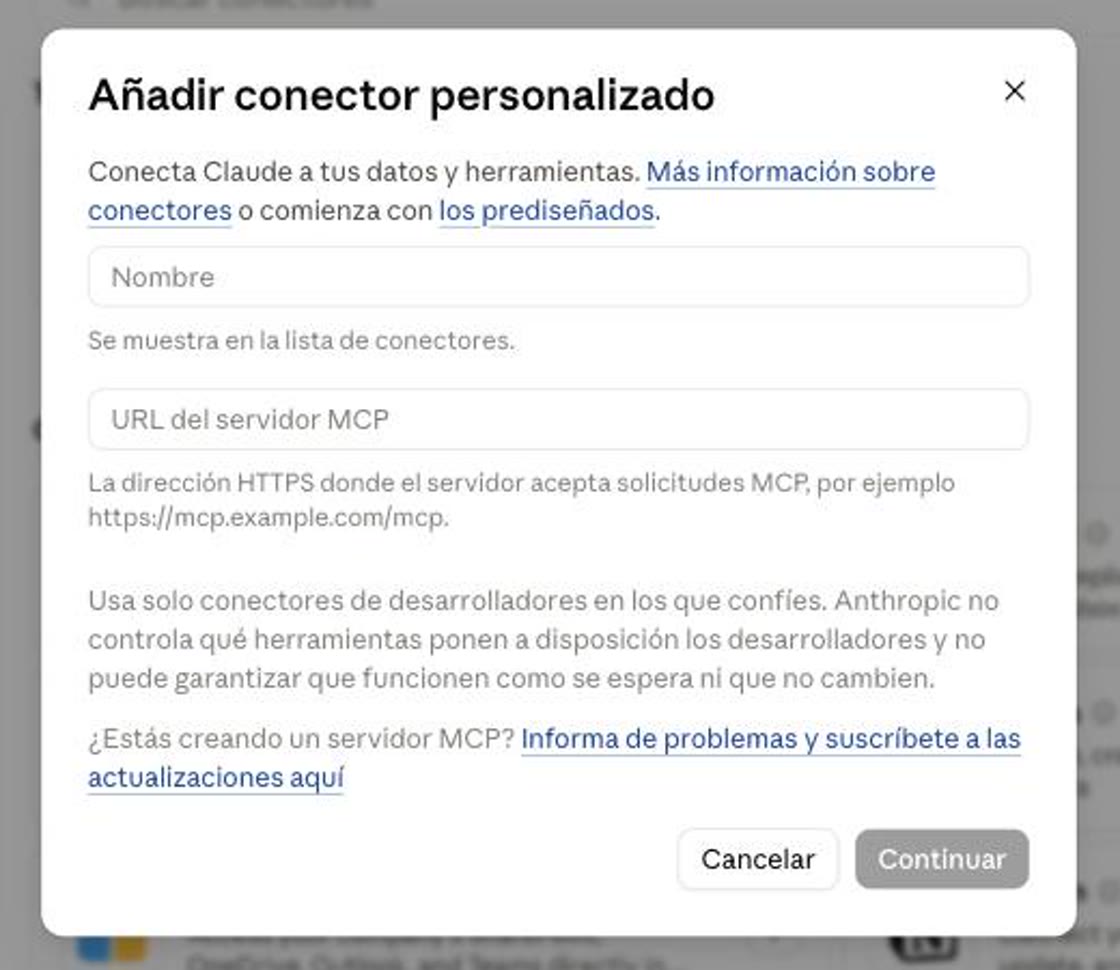
Add a custom connector
Click Add, top right. The Add custom connector box opens straight away.
-
4
Enter Botize's name and address
Type Botize in Name, paste the address below into MCP server URL and click Continue.
https://webhook.botize.es/mcp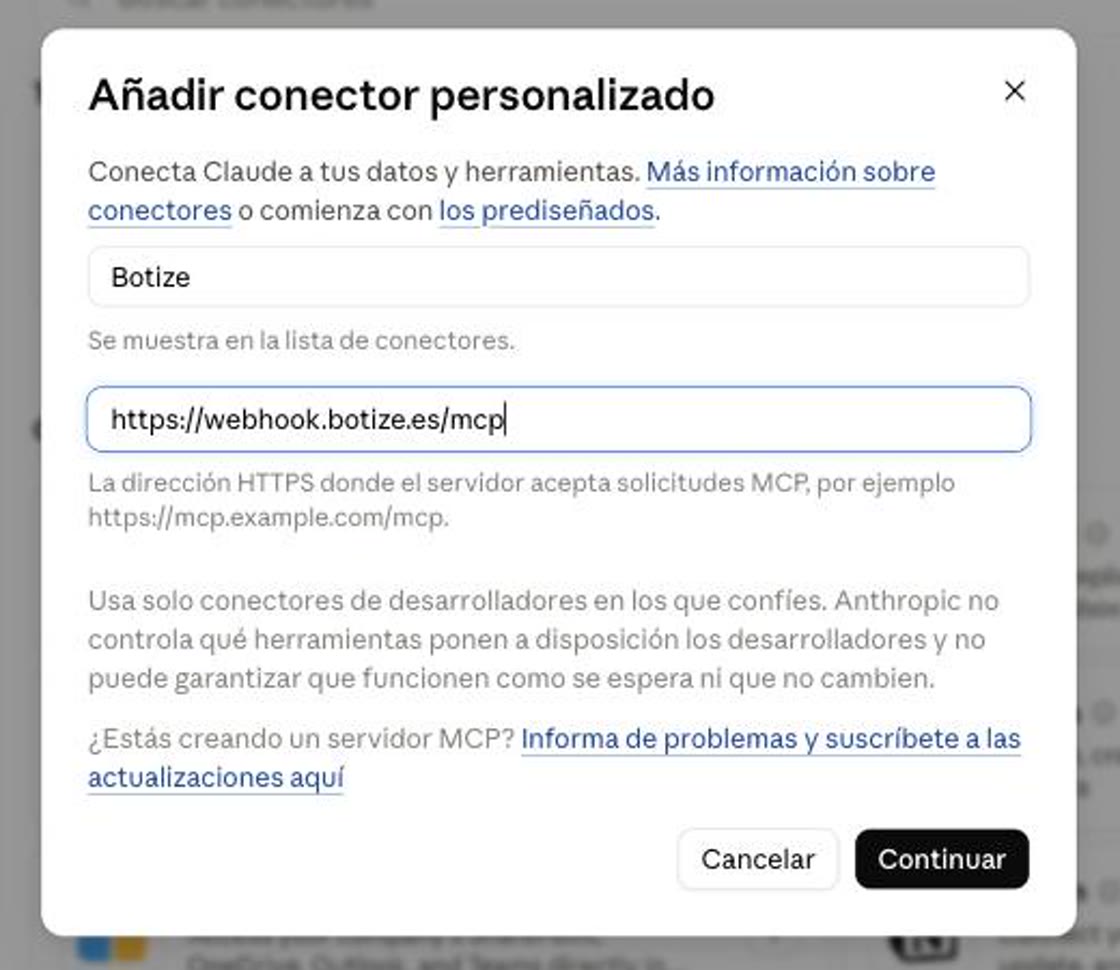
-
5
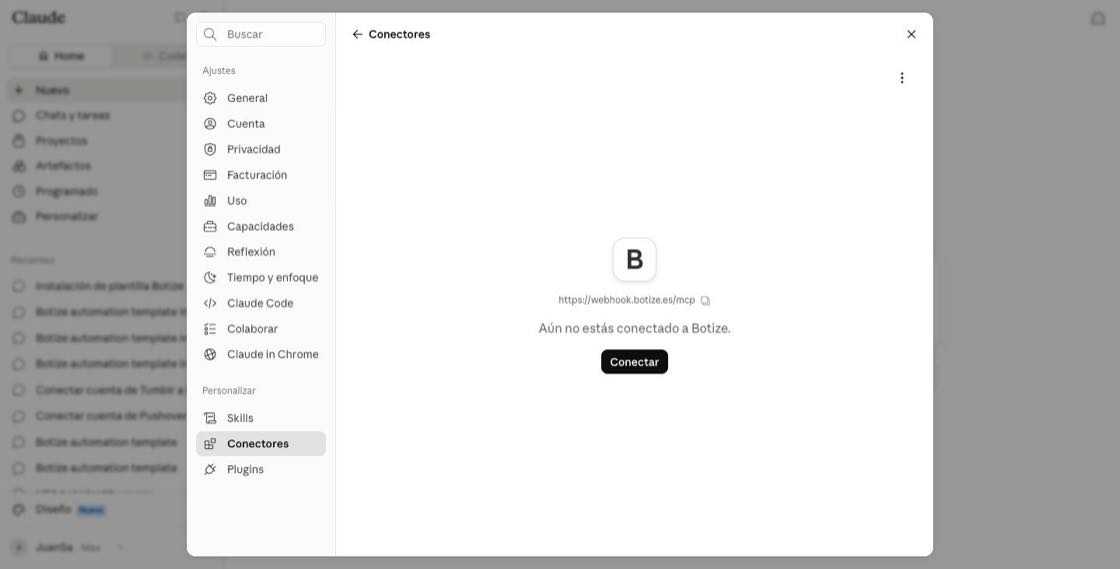
Click Connect
The connector shows as “Not connected yet”. Click Connect to link it to your account.
-
6
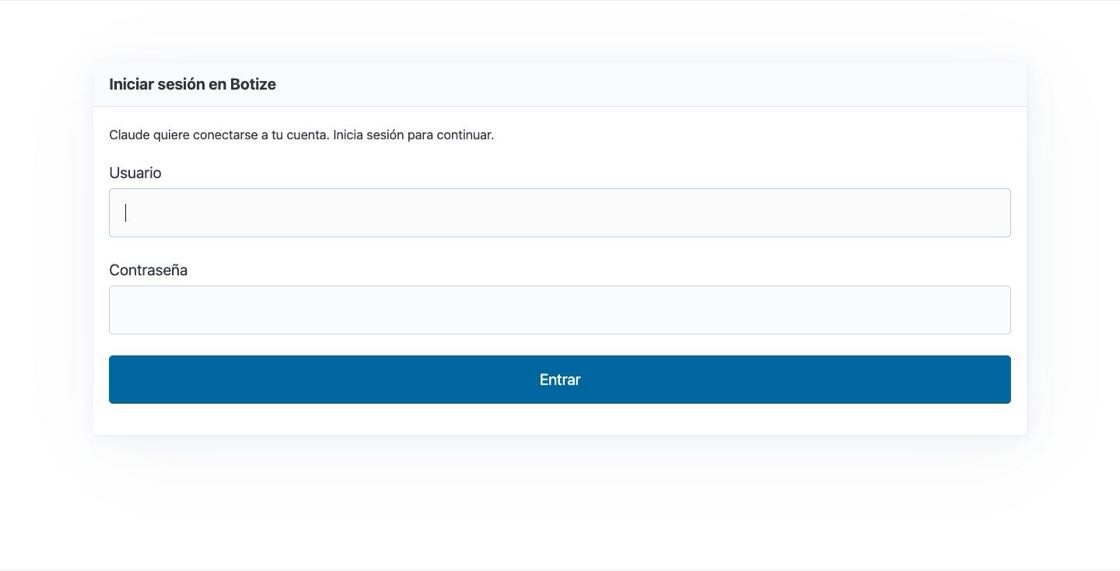
Sign in to Botize
Botize opens. Enter your username and password and click Enter. If you were already signed in, this step is skipped.
-
7
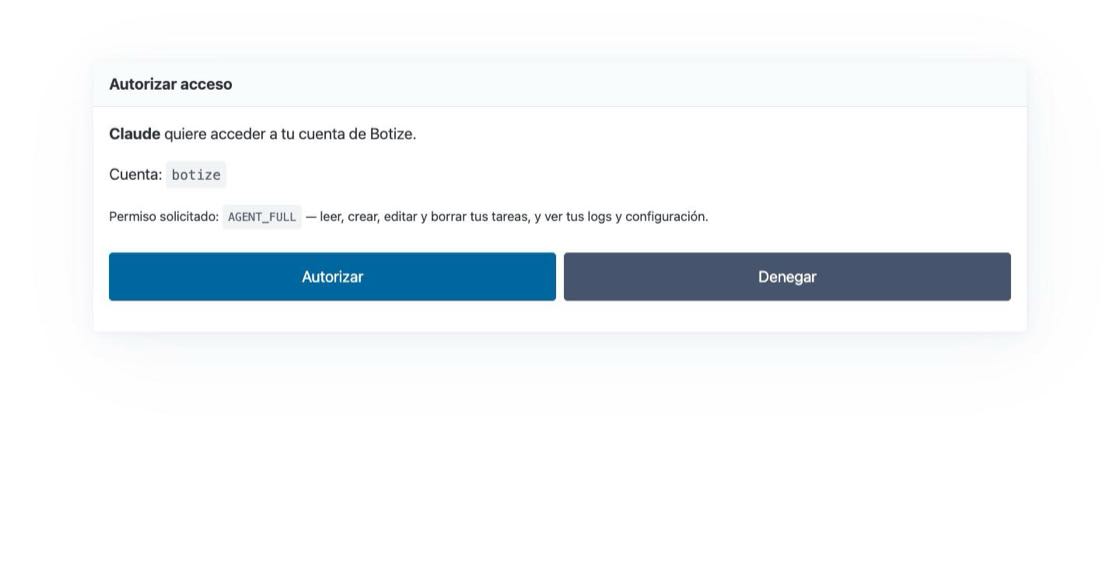
Authorize access
Botize shows what Claude is asking for: read, create, edit and delete your tasks. Click Authorize.
-
8
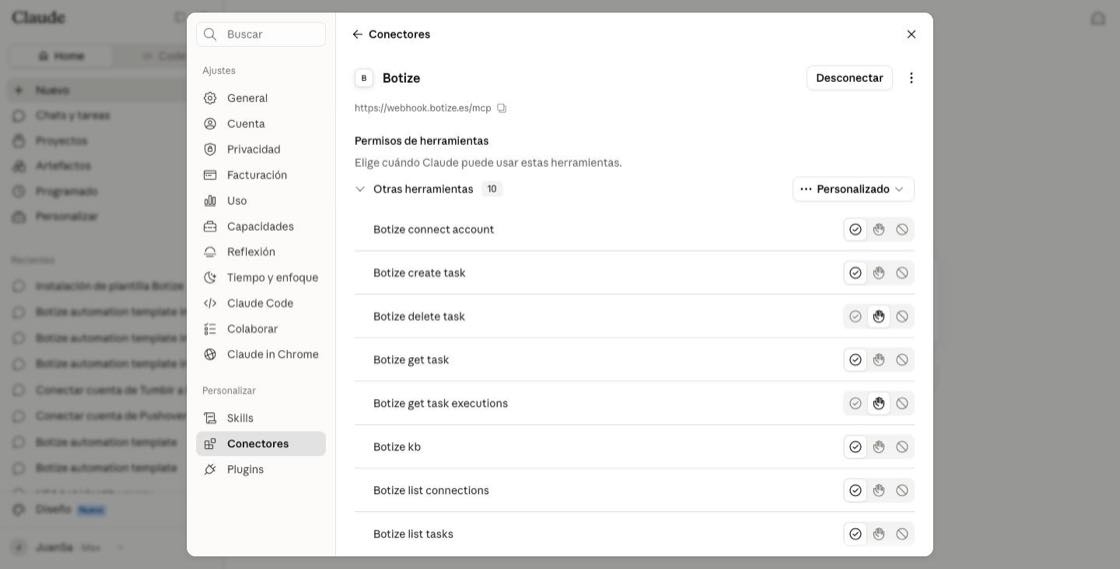
It's connected
You'll see Botize connected with all its tools available. Close settings — the connection stays saved.
Part 2 · Your first check
Check that Claude sees your tasks
First steps with your assistant, explained in the Help Center: Getting started with Botize MCP.
-
9
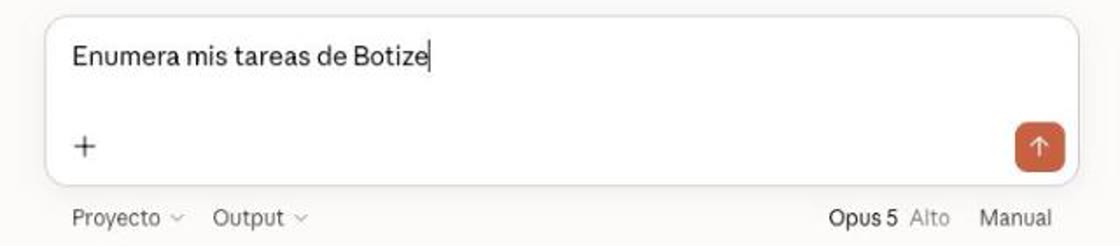
Ask it about your tasks
Open a new chat and type “List my Botize tasks”. Claude uses the connector on its own: there is nothing to pick.
-
10
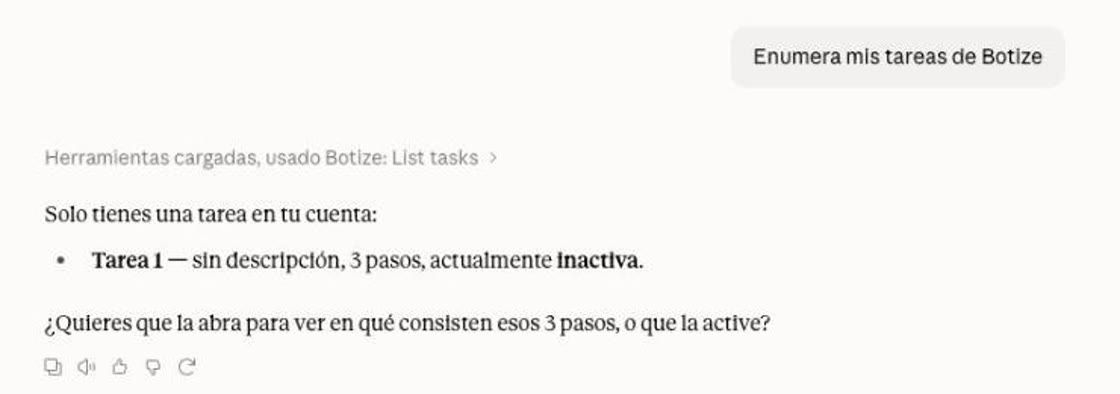
Claude calls the connector and lists them
You'll see the notice that it used Botize and, below it, your tasks with their names and whether they are on or paused. That's it: from there you can ask it to create a new one, to tell you why one failed, or to pause any of them.
So what do you ask it for?
The same things you would do in Botize yourself: create a task, look into why one failed, switch it on or pause it. And if you would rather start from something already built, pick a ready-made automation and ask it to set that up with you; that path is explained here.
On ChatGPT? It's very similar, with a couple of extra steps: see the ChatGPT guide →
Start automating with Claude
Pick a ready-made automation and let Claude set it up for you.
Browse ready-made automations About the Botize connector Full guide in the Help Center